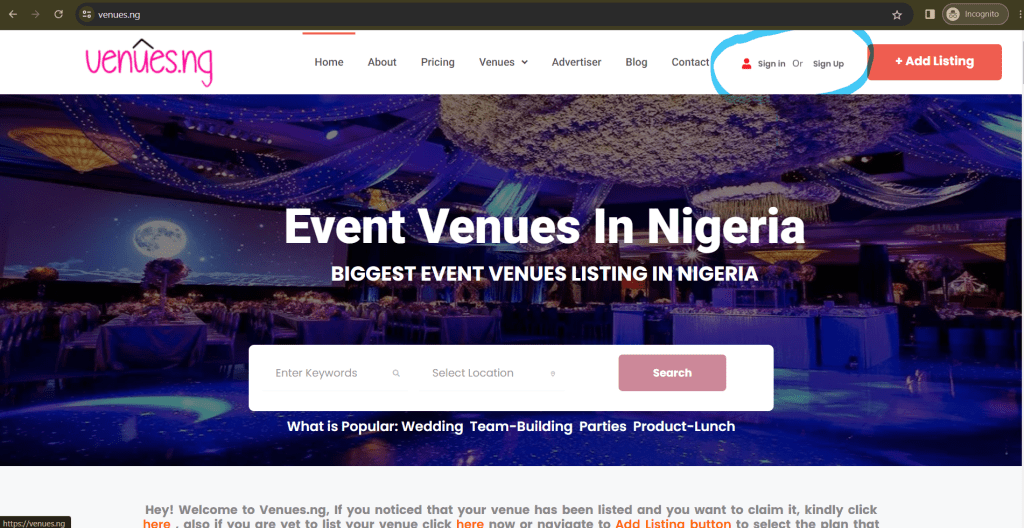
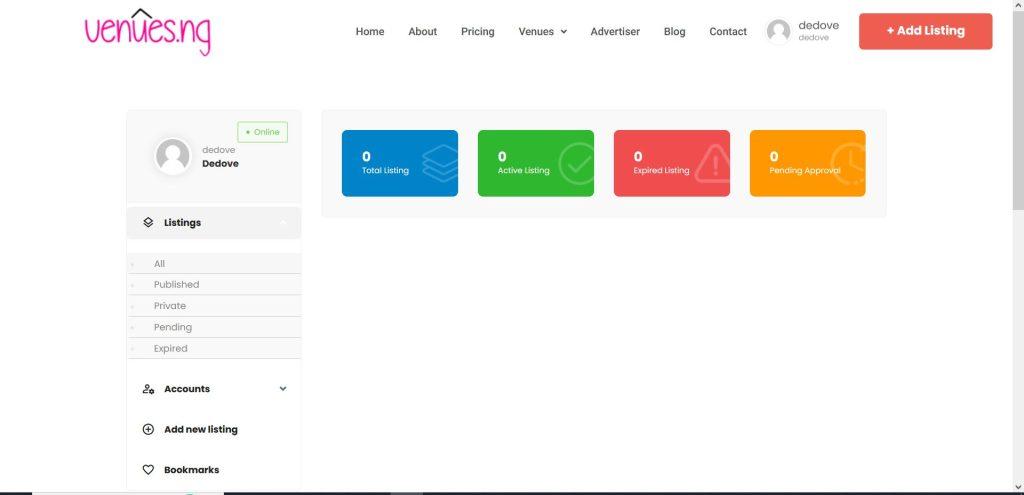
Best Event Venues in Nigeria

How it works?

4 EASY STEPS TO GO

Register

Navigate to register or signup to create your listing.
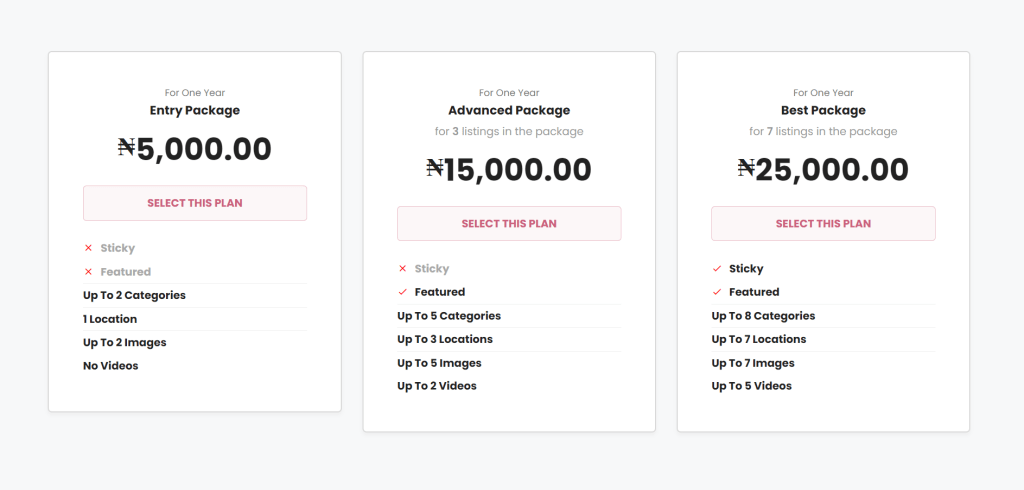
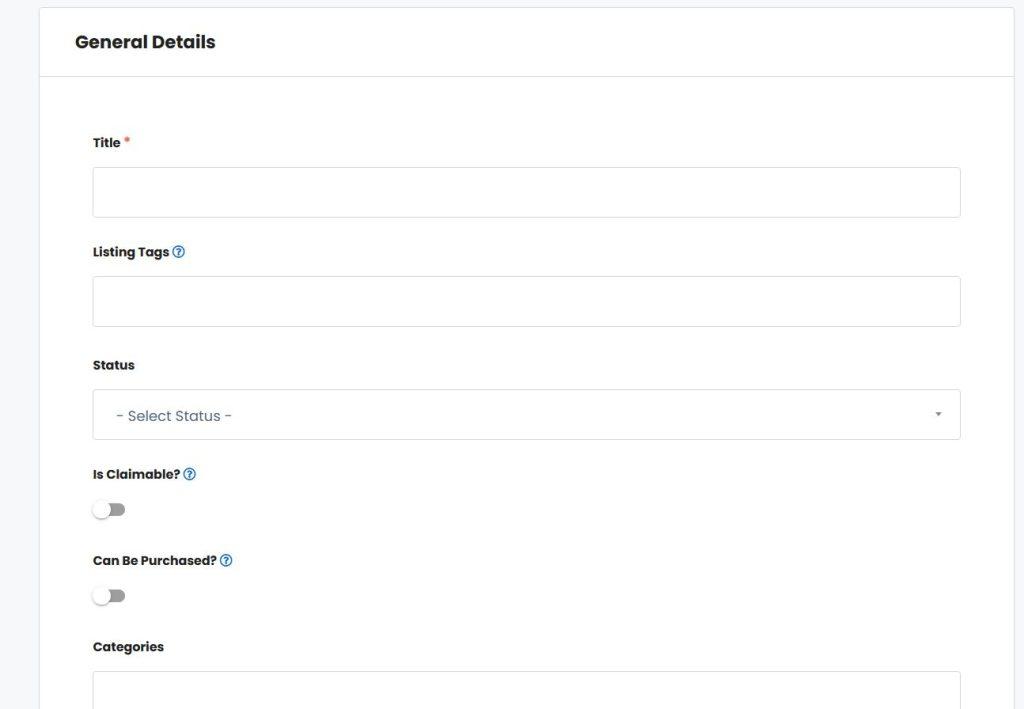
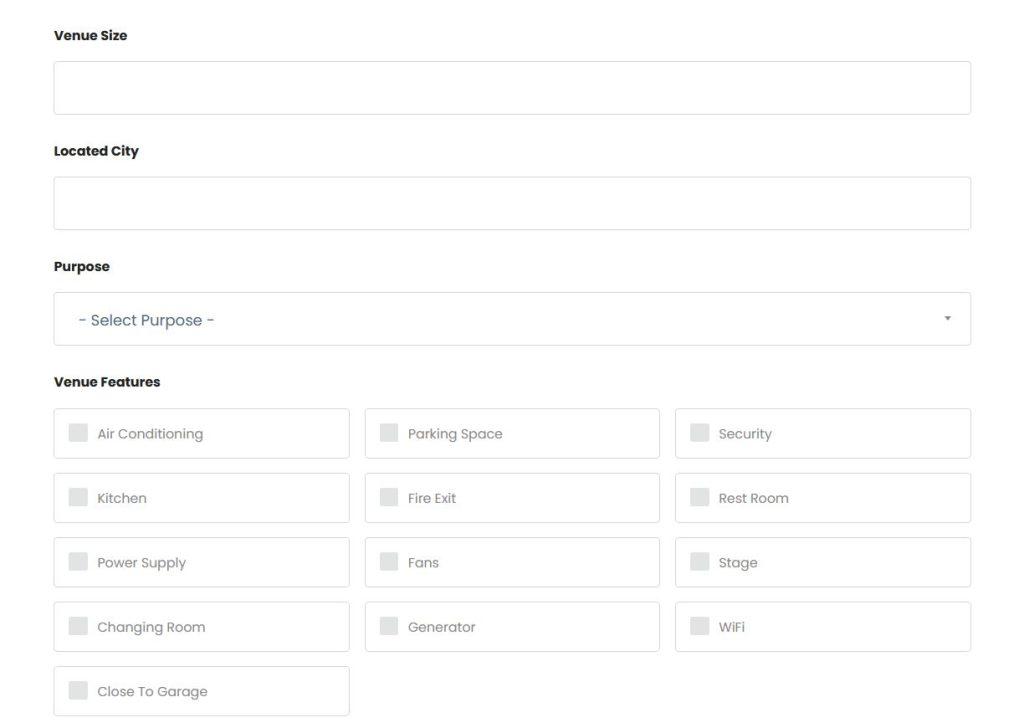
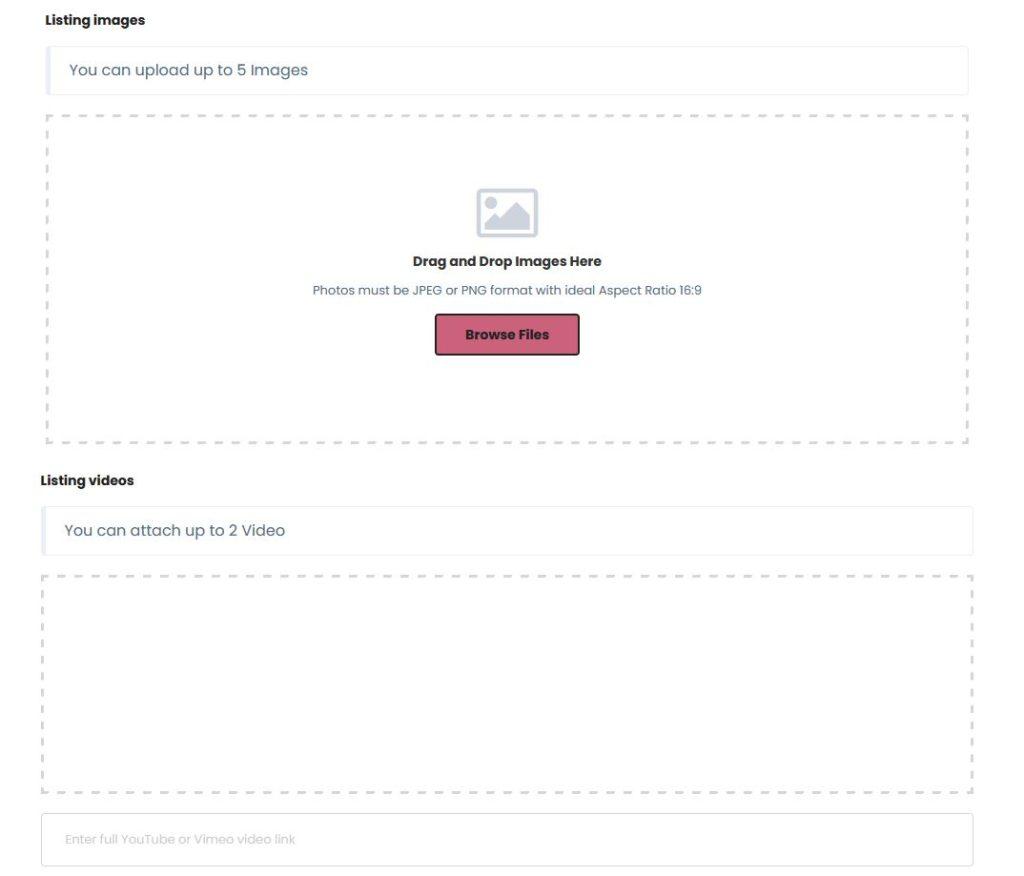
List Venue

List your event venue with all the functionalities.

Optimize

Optimize your listing for better ranking with keywords.

Upadate

Update and upgrade your listing for better ranking.

How to Successfully Signup and Fill up your Event venues

Elevate the visibility of your event venue and gain widespread recognition with Venues.ng, the unrivaled platform for making your venue known far and wide. By registering your event with us on Venues.ng, you unlock a host of benefits and advantages, including a surge in booking requests, heightened visibility, and increased footfall.

Now, you may be wondering how to take the first step. Fear not! This engaging post will walk you through the simple and straightforward process of creating an account, listing your venue, and making secure payments. We will provide clear and concise instructions to ensure a seamless experience.

Get ready to embark on this remarkable journey of showcasing your event venue to the world. Let’s dive in and make your event venue shine!

HOW TO CREATE AN ACCOUNT OR REGISTER

Creating an account with us on venues.ng requires less effort. It requires just seven simple steps. The steps included:

Step 1: Open your browser and go to venues.ng, navigate to the top menu and click on ‘+Add Listing’  button.

Step 2: It will take you to the ‘submit listing’ page and select your desired plan by clicking on ‘Select this Plan’,  It will redirect you to the signup page based on the plan you selected.

Step 3: Provide your desired username, email address, and password, and answer the Captcha/Test question. Then, click on “Sign up,” and you will be redirected to your dashboard.

Step 4. Dashboard: Here is the general overview of your dashboard.

You have:

  • Total Listing
  • Active Listing
  • Expired Listing
  • Pending Listing
  • Account Tab and sub tabs under it.
  • Add new listing
  • Bookmarks

Step 5. Edit Profile: The next thing to do is to navigate to Edit profile under Account tab and click edit profile to update your profile and don’t forget to upload your profile picture and click save at the end of the form field.

Step 6. Add New Listing: The next thing to do is to navigate to either ‘+ Add Listing’ at the top of the nav bar or click on Add New listing.

Step 6. Fill up and Submit: Select your desire package and fill up the necessary info and submit.

Some of the screenshot has been posted below respectively.

By following these steps, you will successfully create an account on Venues.ng. It’s as simple as that! Get ready to showcase your event venue and enjoy the benefits that come with it.

Note: Video can be attached via embedding (i.e you will have to upload your videos on either YouTube or Vimeo and copy the embed link and attach it),and don’t forget you can send all your info to us and we do it for you easily.


Here are the requirements:

  1. Title: 
  2. Listing Tags: 
  3. Status: Select ‘Rent’
  4. Is Claimable? : Don’t touch it unless it’s claimable.
  5. Can Be Purchased?: Don’t touch it unless it’s for sale.
  6. Categories: Select based on your package.
  7. Banquet Seating
  8. Venue name
  9. Venue Size
  10. Located City
  11. Email
  12. Social Media: Copy the link of social medial profile e.g facebook, Instagram etc.
  13. Description: This is where you give the full detail about your event space.
  14. Frequently Asked Questions: If there is. 
  15. Listing images: Best quality and big in size.
  16. State
  17. Address line 1 
  18. Address line 2: This second address is optional.
  19. Zip code : optional.
  20. Additional info: optional.
  21. Contact Phone Number
  22. Whatsapp Number

HOW TO MAKE PAYMENT

We have streamlined the payment process to ensure that showcasing your event venue with us is seamless and hassle-free. Making a payment is the final crucial step, and we have made it easier than ever before. You won’t encounter any complicated procedures when it comes to making your payment. Simply follow the step-by-step instructions provided after clicking on ‘Submit Listing’ it will redirect you checkout page.

Step 1: Proceed to making payment

Step 2: Select your payment method

Step 3: Place your order

Step 4: Input required bank details

Step 5: Submit

To assist you further, we have included images below as visual guides. If you encounter any difficulties while creating your account, registering your event location, or completing the payment process, please don’t hesitate to reach out to us. We are here to help and are just a phone call or email away.

We understand that you may have a busy schedule, which is why we offer the services of our dedicated professionals. They can guide you through the entire process , and ensure a secure payment on your behalf. Rest assured, we are committed to providing a convenient and reliable experience for our valued clients.

Billing Details Slide 1

Billing Details Slide 2 and click on Place Order

Input your card detail and make payment (100% Secured)

Finally Here is your Order Details. 

You can start submitting your listing now by click on Start button below!